Inverted Gooseneck Binding
Demos are done with a double layer of batting that acts as an actual quilt.
1. Match thread to binding.
2. Cut bias binding, miter together, press in half with wrong sides together (refer to any quality quilt making manual if you are not sure how to do this).
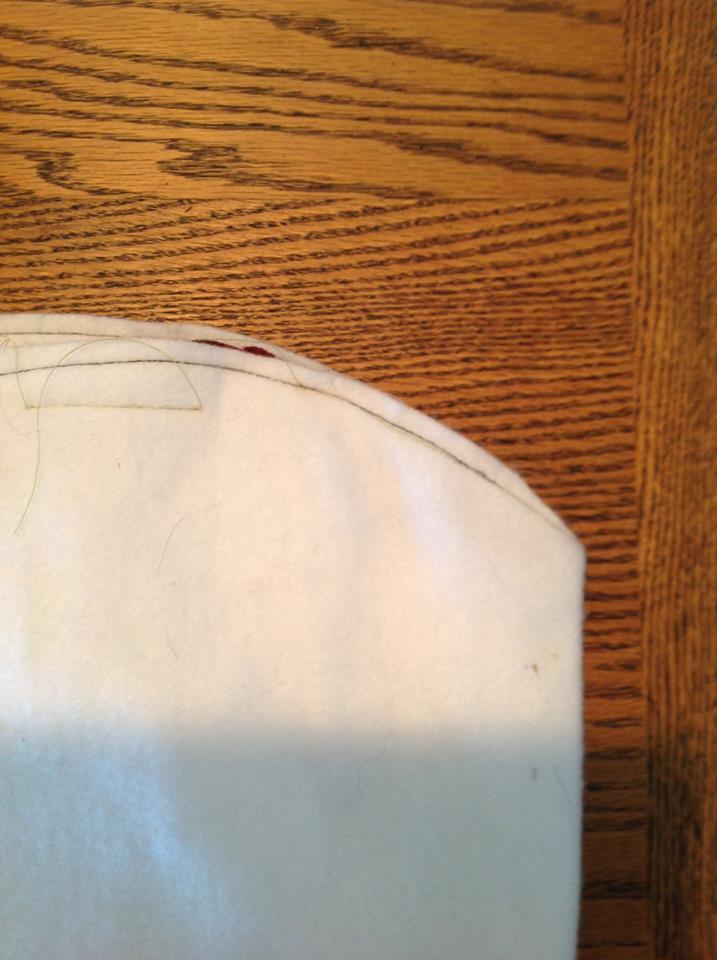
3. Sew the binding on the front side of the quilt.
4. The scallop will actually “straighten out” when you get to the valley, so you don’t have to figure a lot of extra inches of binding to make the scallops.
About 1/2 inch away from each valley, shorten your stitch length.
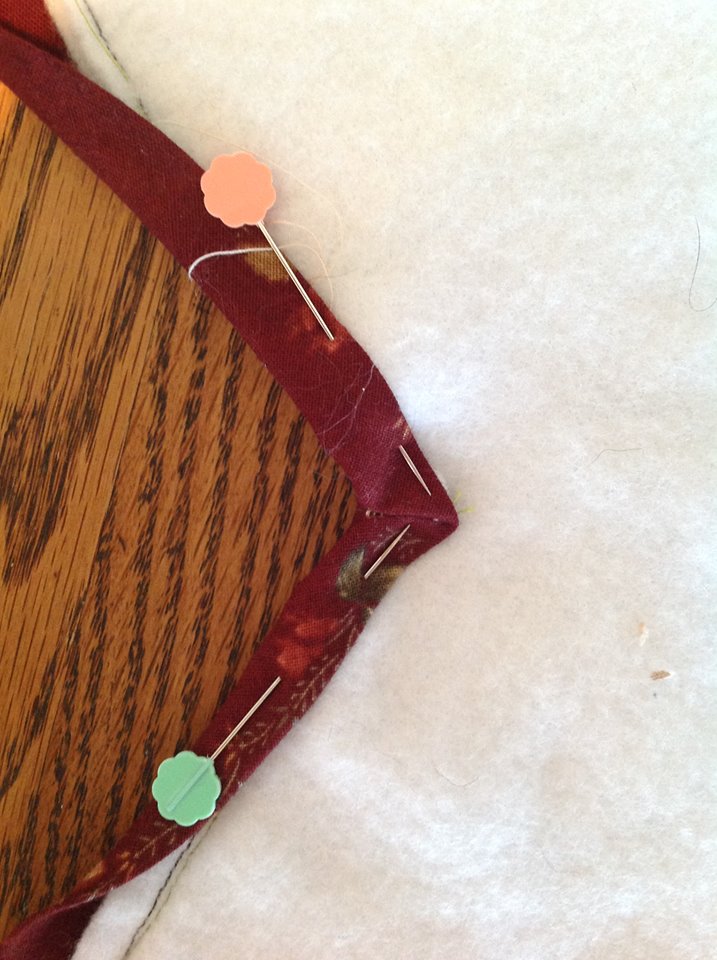
5. When you get to each valley, put a small clip in the quilt to allow you to begin to climb up the next hill. The picture shows the “quilt” on top so you can see the clip. You would be reaching in and making this clip while you were sewing, and the binding would be on top.
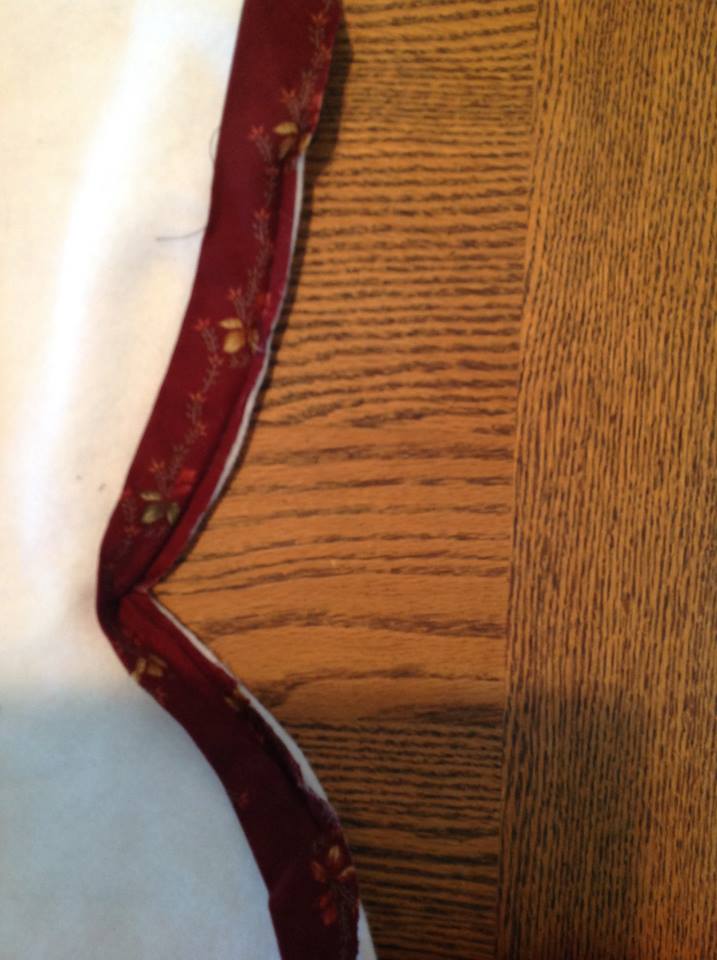
6. After the binding is sewn on, fold each scallop in half and grade (with your scissors) the bulk from the valley.
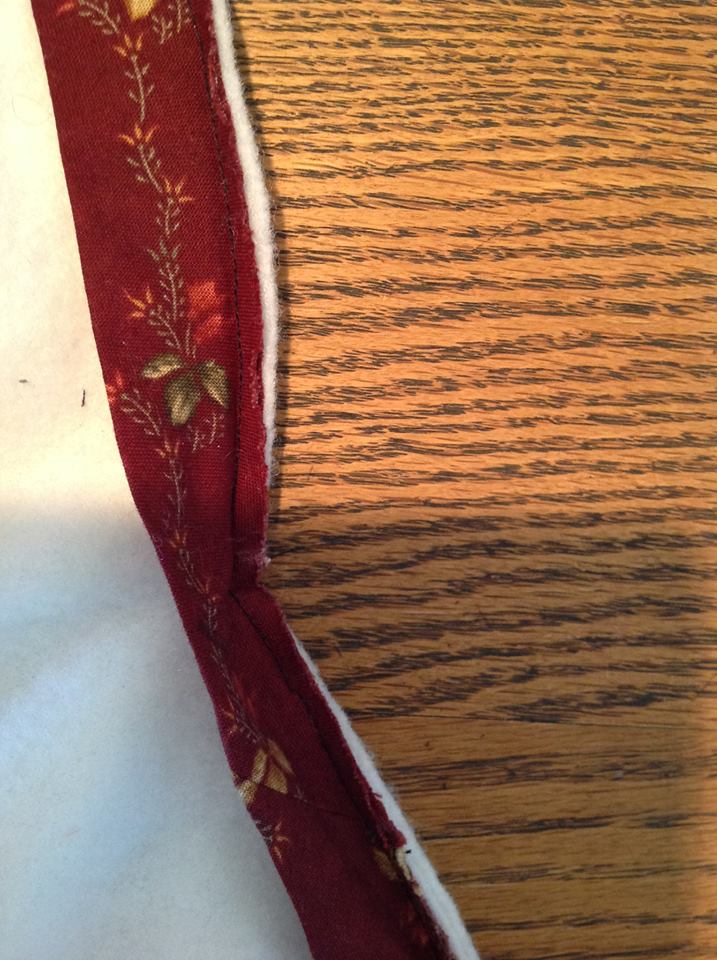
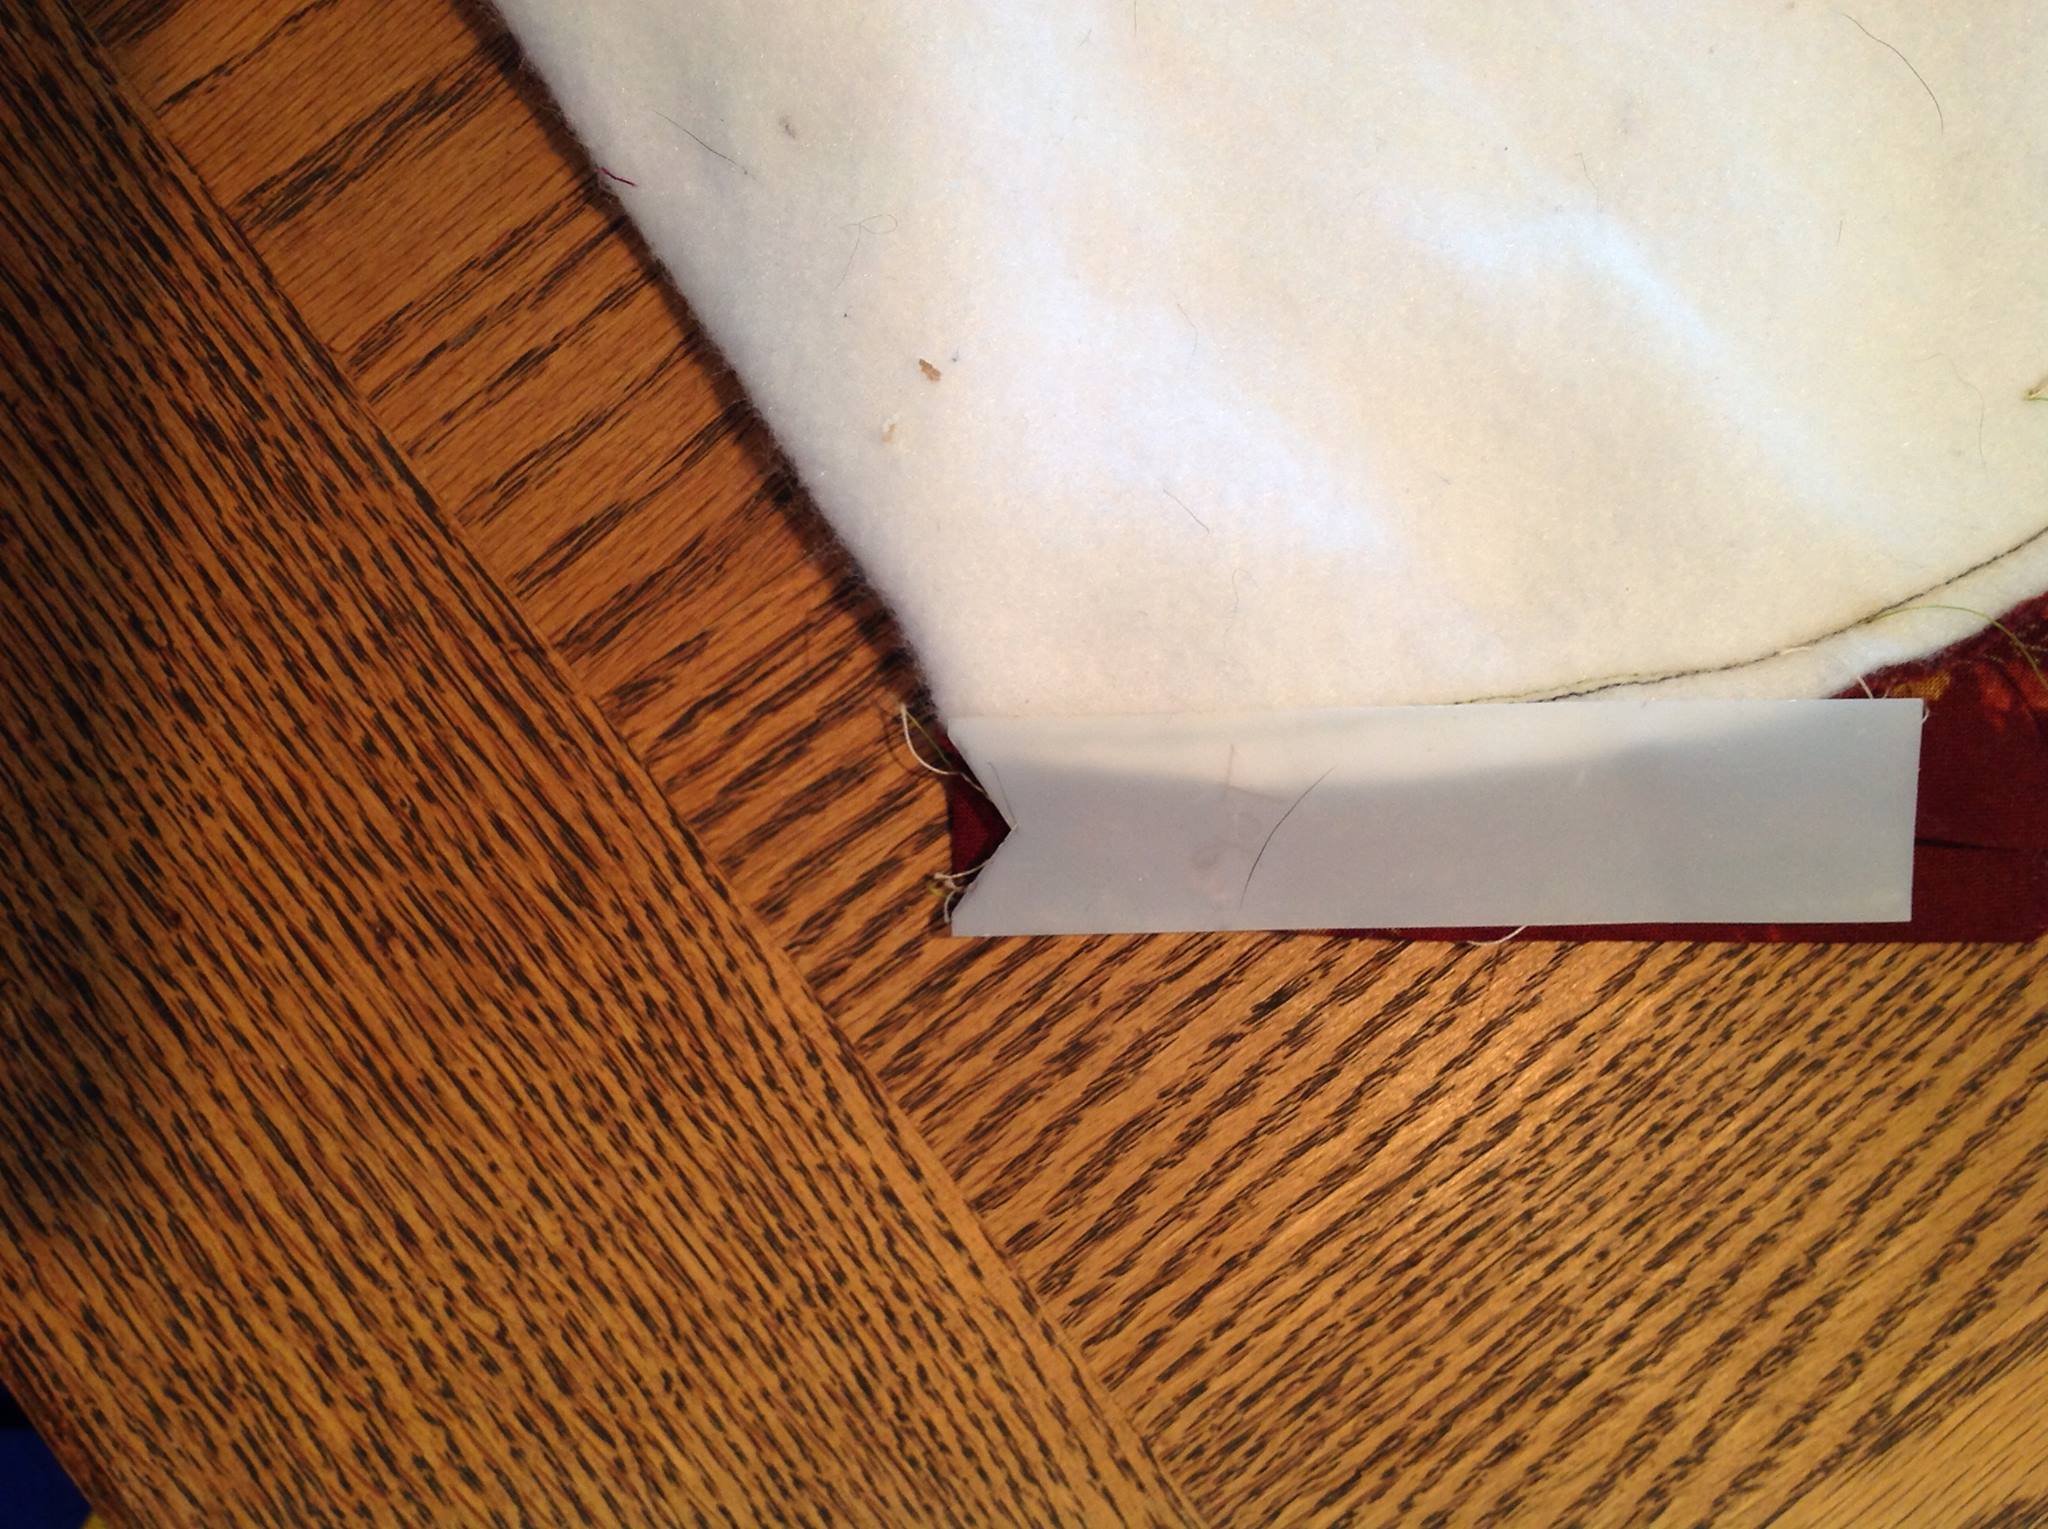
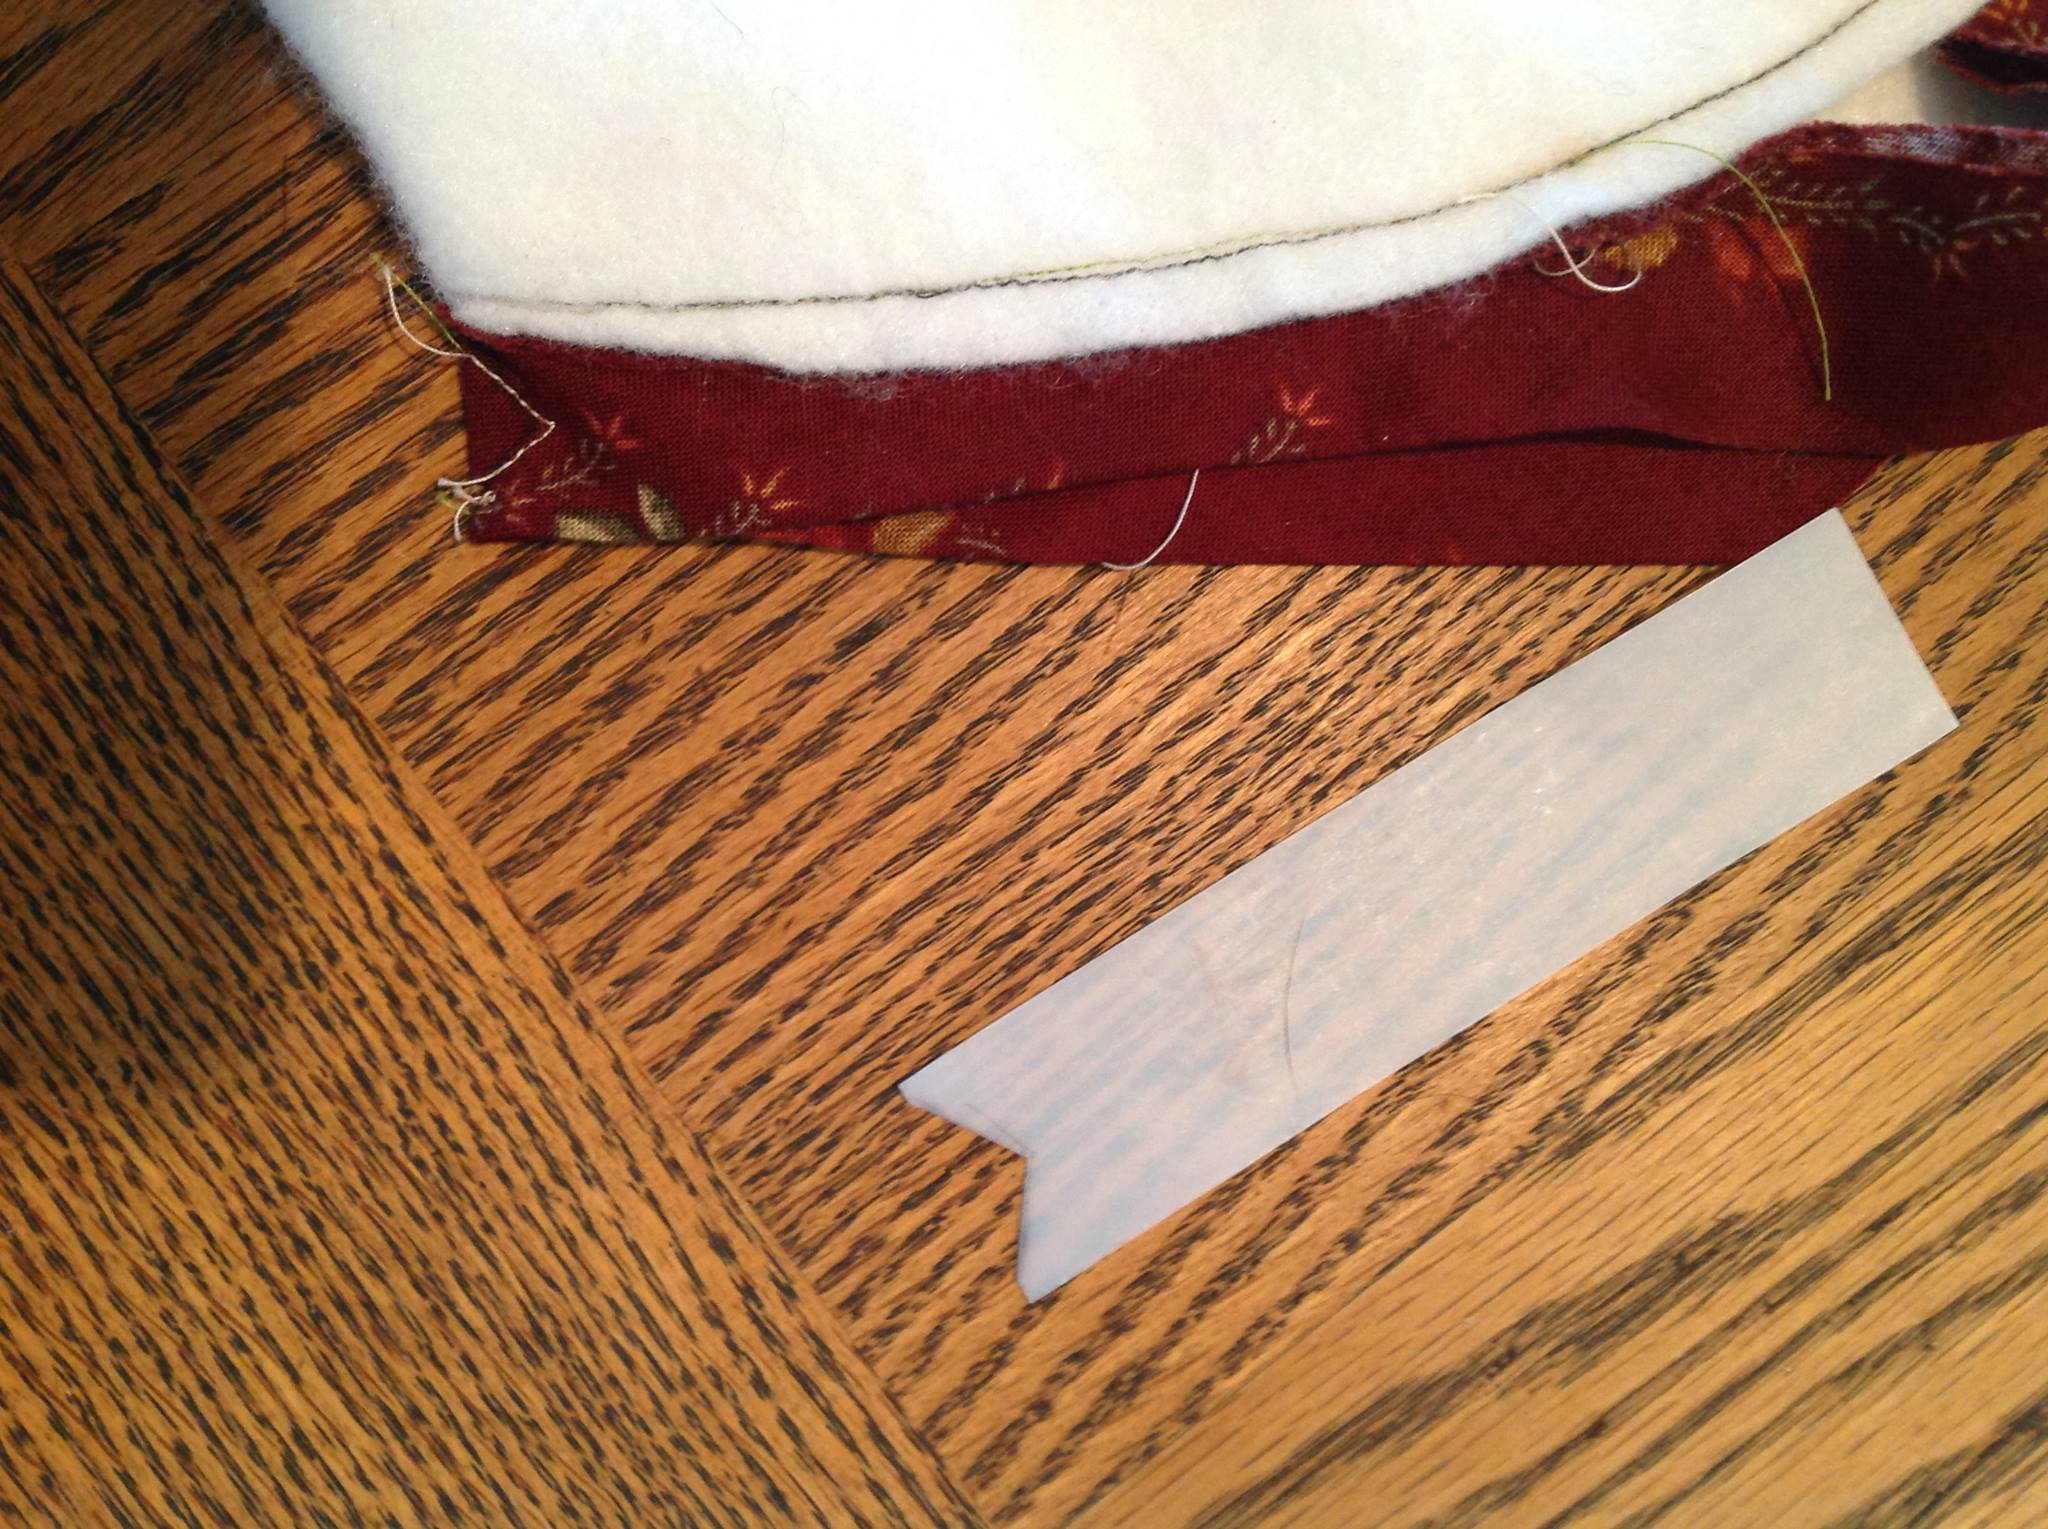
7. Finger press the binding up, and lay the binding tools on top. Notice the v of the tool is lined up with valley of the scallop. The scallop is still folded in half, just like it was in the previous step when you trimmed out the bulk.
8. Mark the v from the tool, and sew it in with a small stitch, matching the thread.
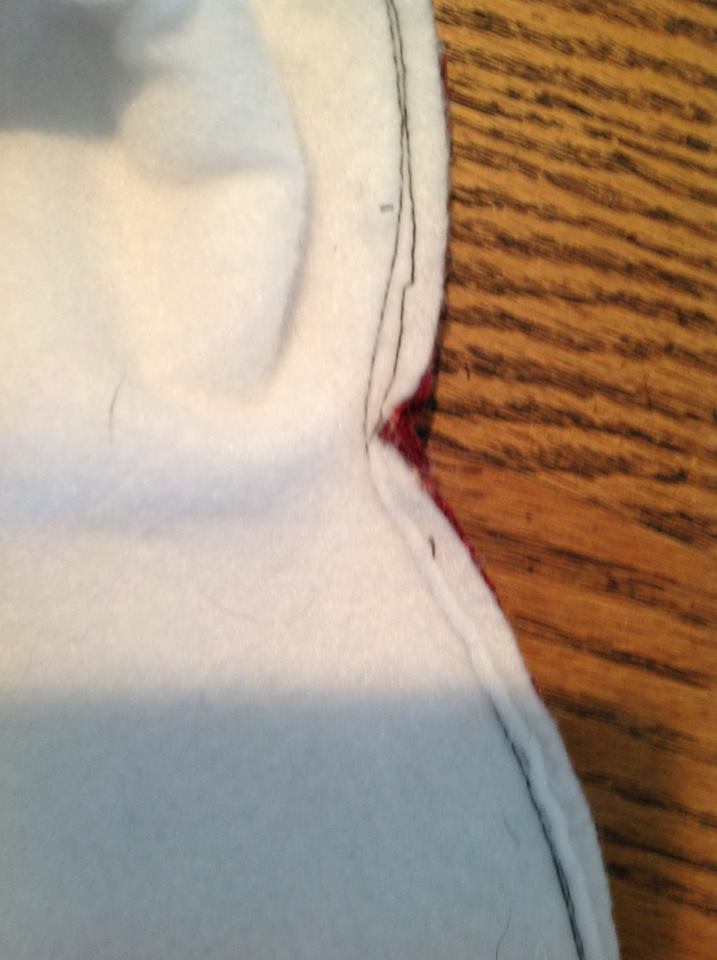
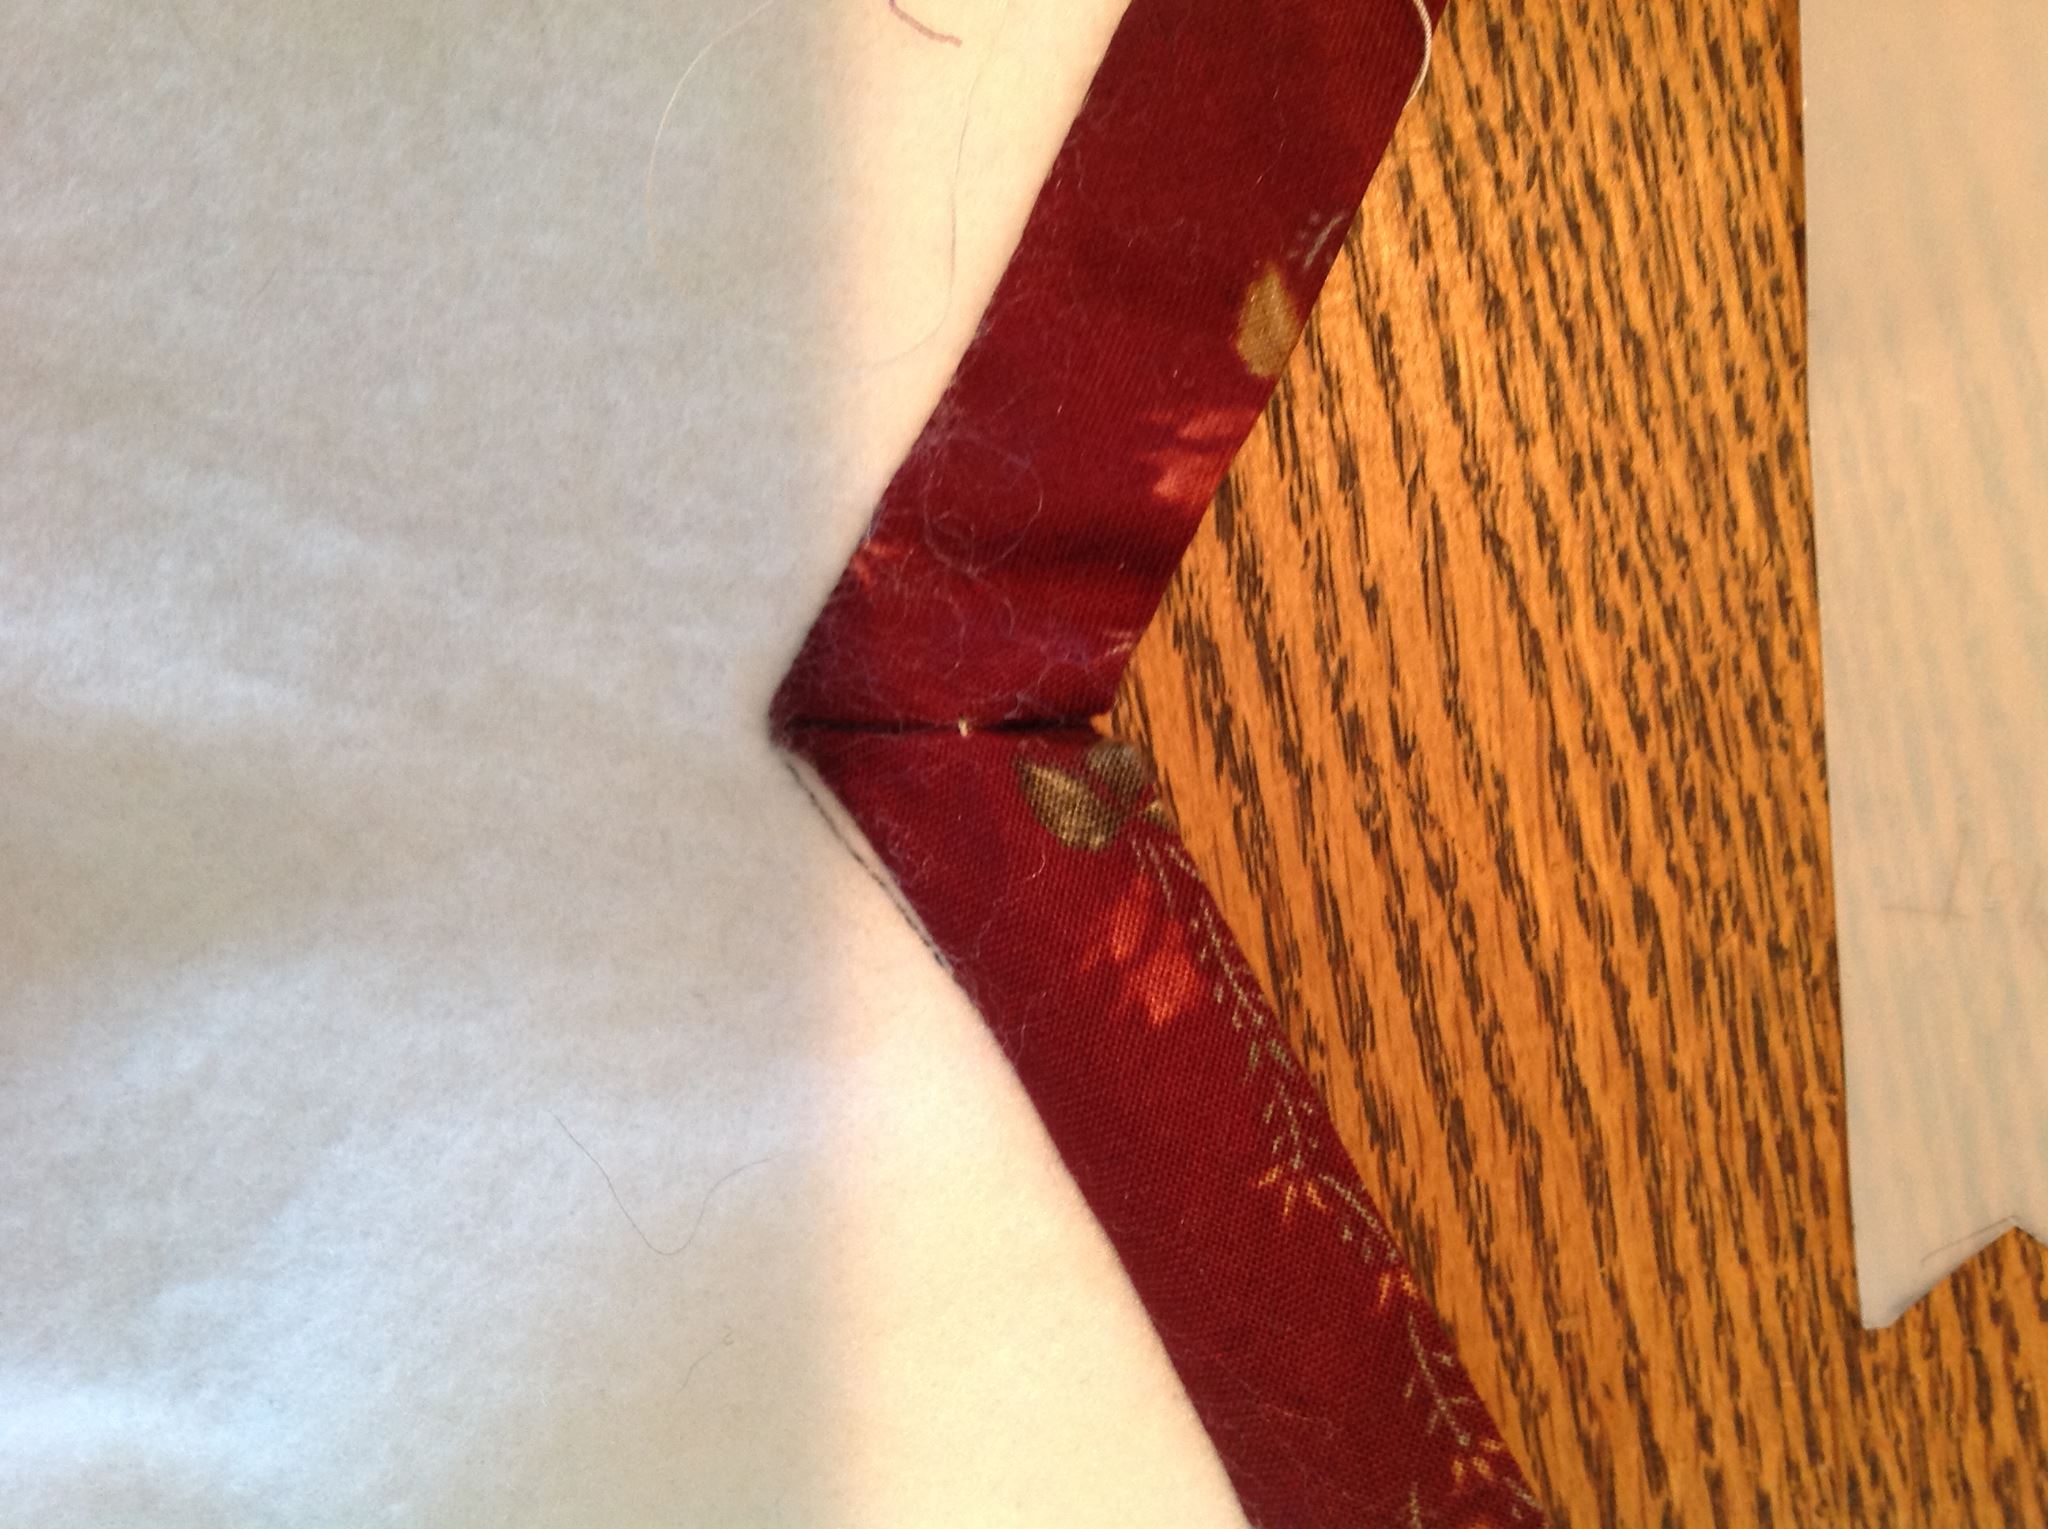
8. Here’s the end result, right side of the quilt.
10. Here’s the end result, back side of the quilt. All you have to do is stitch them down!